WiFi Printing: Print from a Personal Computer to a WiFi Print Location using CampusCloud Print

You can easily print a document from your personal computer by connecting to a U of M print server via CampusCloud Print. Once the document is uploaded you can go to any of the WiFi Printing locations on campus and print out your document.
Printing to a lab printer from your personal computer (including Windows, Mac, and Chromebook)
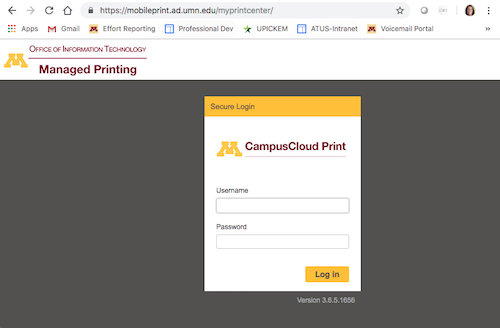
- Using Google Chrome or Firefox, navigate to mobileprint.ad.umn.edu/myprintcenter (Note: this link will work only if you are accessing this article from a device on campus connected to eduroam or are connected to VPN).
- Enter your InternetID and Password in the fields provided.
- Click the Log in button.

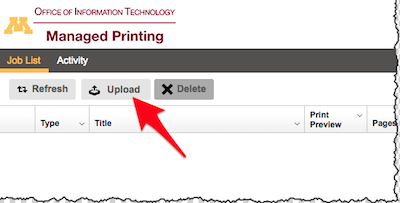
- Click Upload, to upload a file. Notice the types of files accepted.

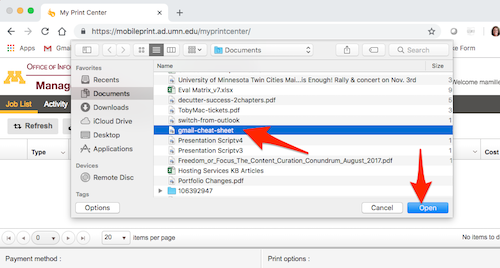
- Select a file to print from your drive and click Open to begin the file upload.

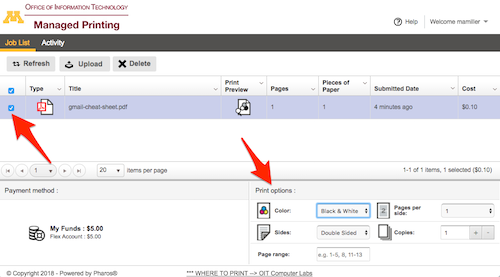
- Once your file has finished processing, click the check-box to select your file.
- Review the Print options and make any desired changes (paper orientation, number of copies, duplex, etc). Your print job is now ready to be printed.

- Notice your Gopher Gold (U-Card) balance and the cost to print; add more money as needed.
- Visit any OIT print location to print out your document.
Additional Information
- You will not be charged until you print your document at an OIT location.
- To add more funds to your Gopher Gold (U-Card) account, use any cash to card Gopher Gold machines on campus, or go to U-Card Office or the U-Card website and add money to your account. Be aware, there is a $2 transaction fee for using the website to add money to your account.
- Default print option is Black & White. If you select Color, please make sure your location has a color printer. See available print locations.
- Page selections cannot currently be made using IOS or Android Apps. You have to print the entire document.


